Let there be light
As soon as we got confirmation from the bank that the home loan was approved, the mind automatically shifted its gear from the financial stress to the creative chaos. Before I knew it, I started planning to remodel the house. I have been putting this off for sooo long as we were waiting for the confirmation from all parties involved.
For our first home, we decided to settle for a smaller one. And with a small home, comes even a smaller kitchen. Today I am going to share the journey of planning and installing the kitchen before we could move in.
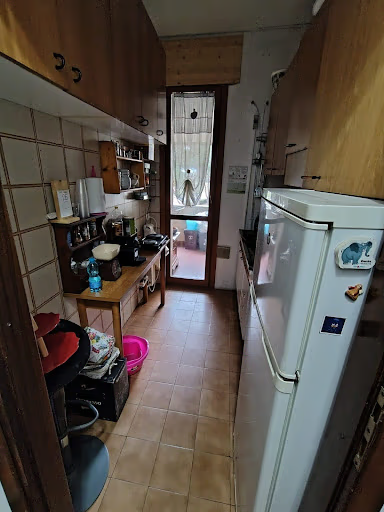
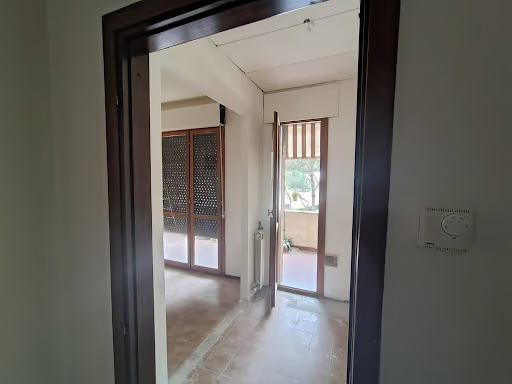
Ours was more of a kitchenette than a full kitchen. It’s only 250cm by 160 cm. And of course it was closed. Lately, I have been reading a lot that the open space kitchen era has ended and all. Me, and also Navil, being the nostalgic ones, cannot move over the concept of an open kitchen, not yet. That being said, the first decision was to remove the wall between the kitchen and the living room. That’s not the end of it. Our friends, the fabulous realtor and the architect couple, suggested closing the opening between our tiniest entrance/ corridor and the kitchen. Someday, I’ll write about optimizing that space which is still a work in progress. And though I understand the reasons for this suggestion, both of us were kind of adamant about having a more open and light flowing structure. We both emphasized on having the scope to light and air flow throughout the house. Result? We did not close the door space. That left us with a wall coverage of only 250 cm.
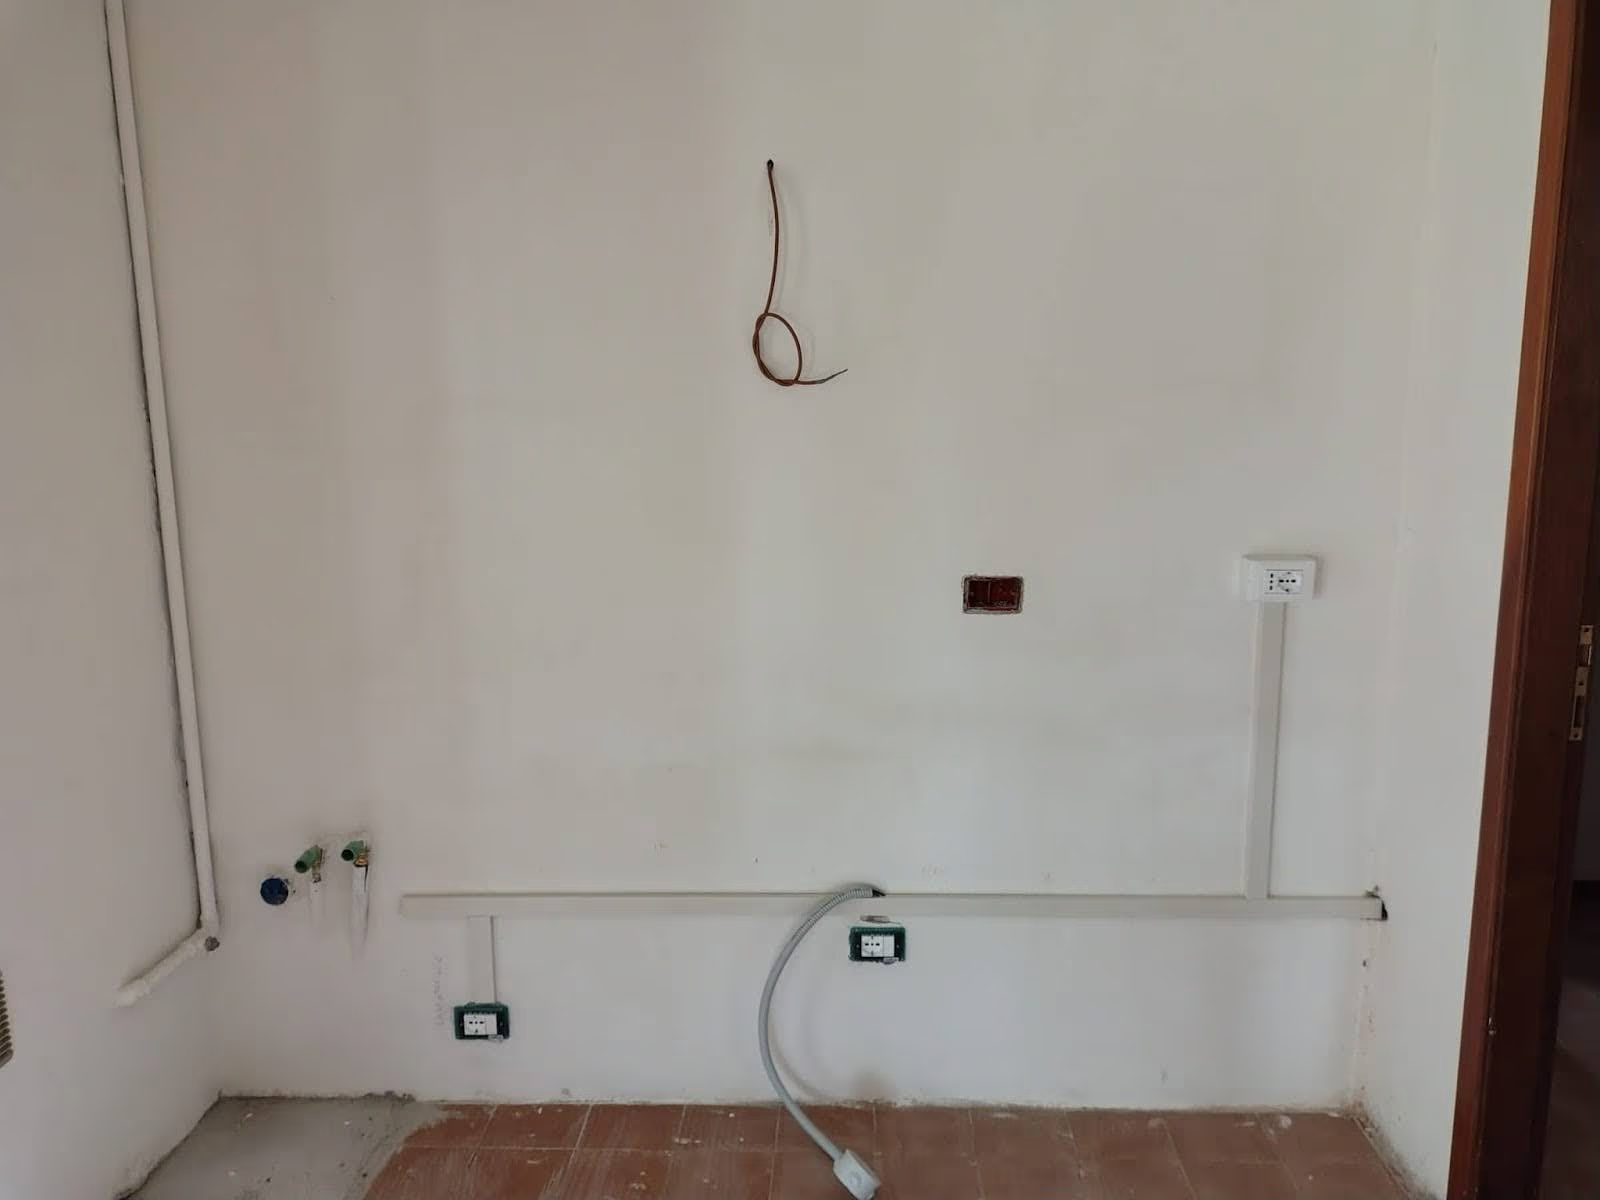
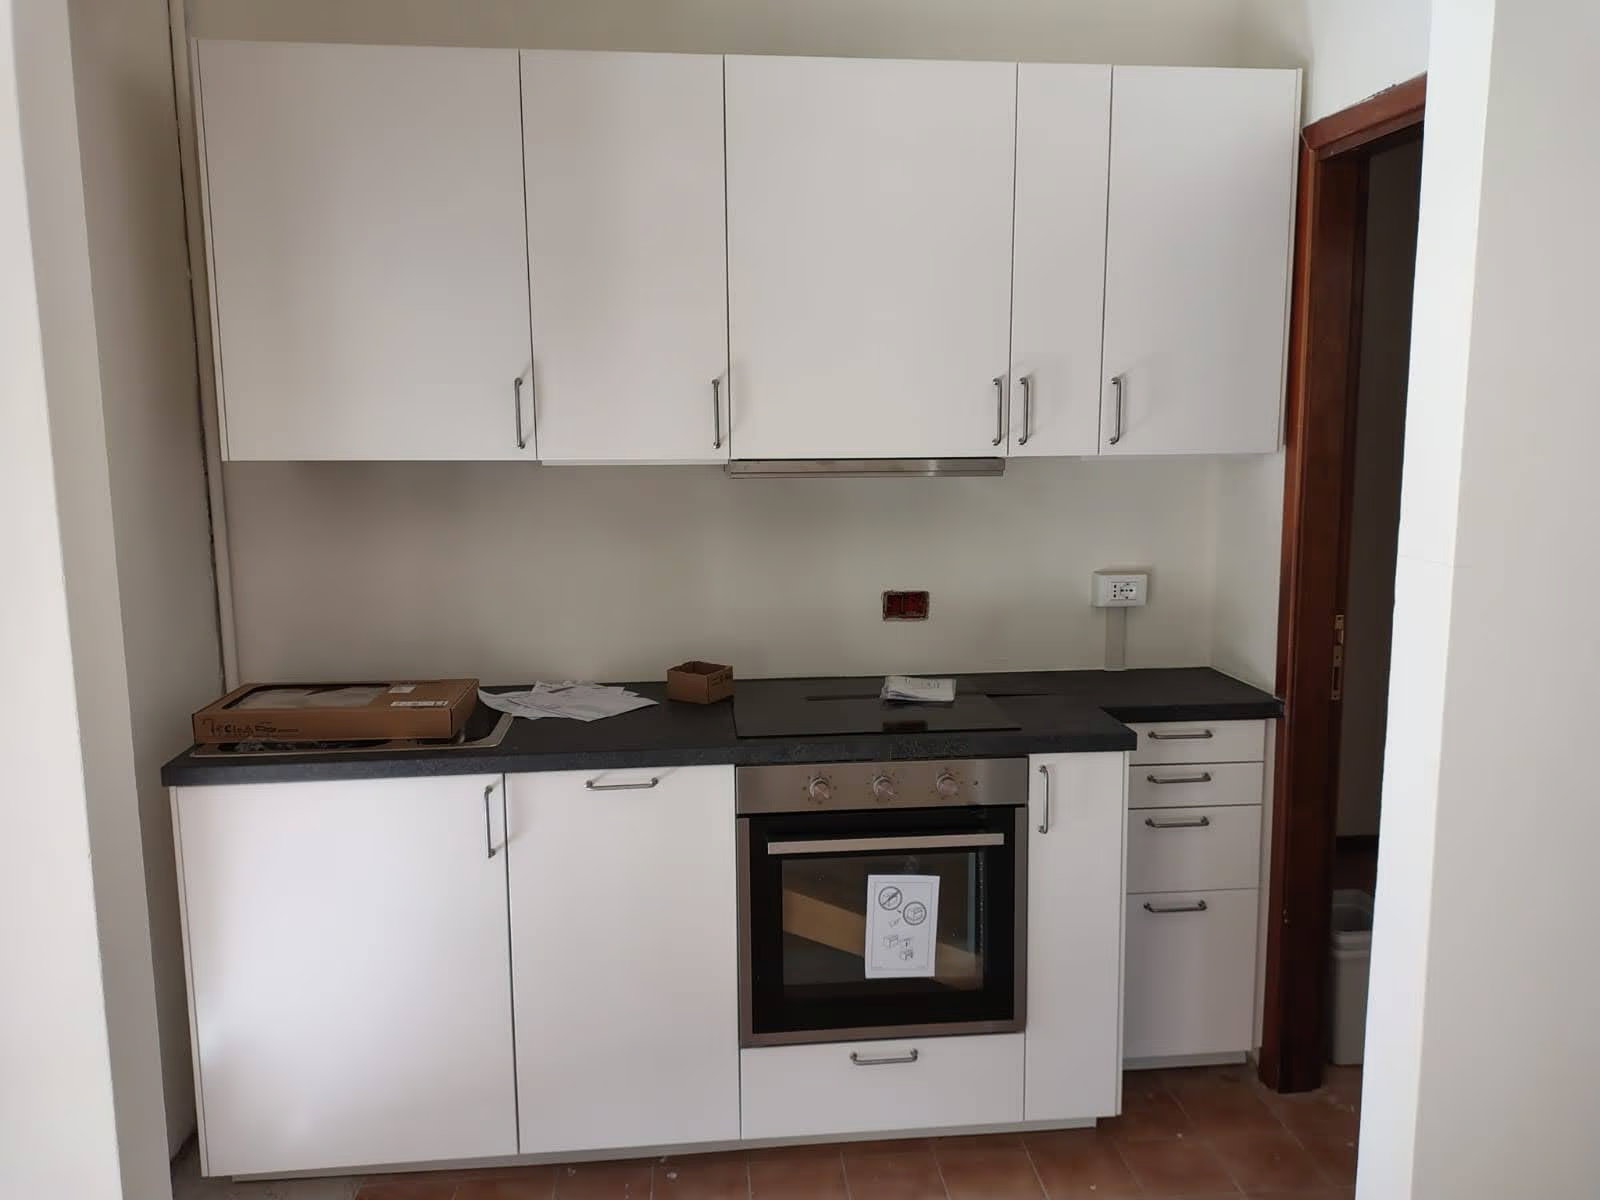
Next came making a list of what we want in the kitchen. What I could not give up were a sink with 2 sections, space for dishwasher, full sized cook top with oven and counter space. As a trade off we had to move the fridge-microwave combo and the pantry space. In the end we got a single wall kitchen as follows -
Here is the list that I made to categorize what I wanted and how expensive they seem to plan for the kitchen.
| Bare minimum | Medium tier | Upper tier |
|---|---|---|
|
|
|
So the trade offs in terms of space relocation were this -
- The pantry
- The dining table
- The fridge
- The microwave
I would say the space containing the above components can be considered as our virtual dining room.
What I would do differently if I had the knowledge and experience -
- Ladder storage: Make space for inserting a small ladder to reach the upper shelves
- Thin pull outs: Use the pull out drawers in the thin blocks
When trying to optimize the ‘work triangle’, don’t forget that at the end you are going to be the one who uses it. It’s your space where your sleepy version will be brewing your first cup of coffee in the morning. Even though we gave up our valuable wall space, seeing the light hit the kitchen floor from both sides makes the trade off worth it. What are the 'non-negotiable' items in your dream kitchen? Let me know in the comments! And stay tuned—next time, I’ll be sharing our ‘virtual’ dining room.